How to Use Sound Proof Foam for Maximum Noise Reduction?
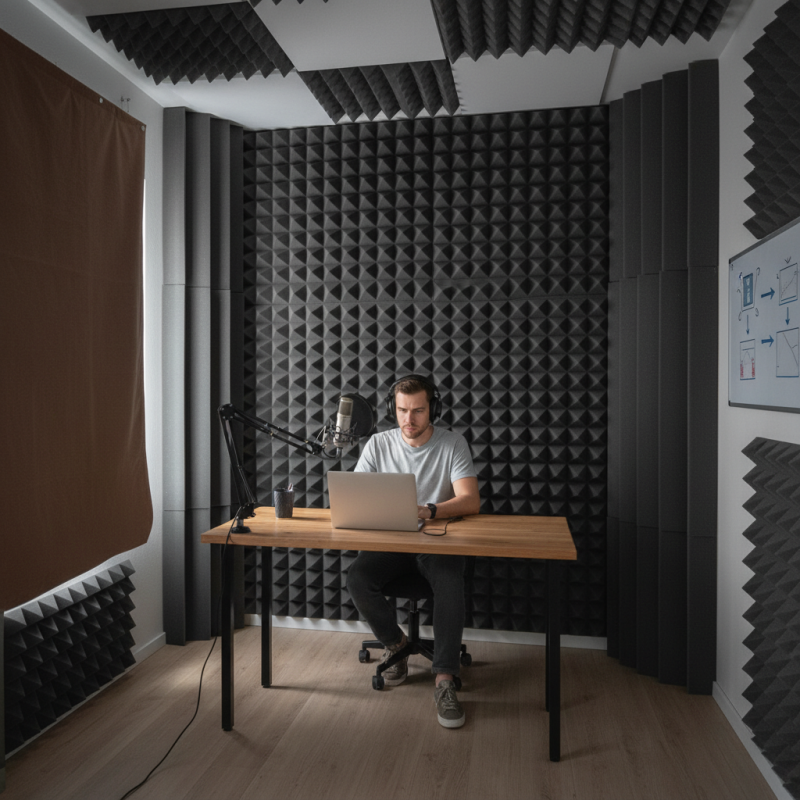
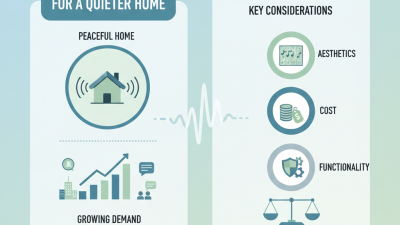
In today’s noisy world, finding peace can be challenging. Sound proof foam can transform any space into a quiet sanctuary. This material is designed to absorb sound waves and reduce echoes. Whether in a recording studio or a home office, its benefits are significant.
Imagine working in a room where outside noise doesn’t intrude. With sound proof foam, you can create that environment. It’s crucial to understand how to use it effectively. The placement of the foam matters. Wall positioning, corners, and ceilings all play a role.
However, not everyone finds instant success with sound proof foam. Some might realize too late that poor installation affects performance. You may need to experiment with different configurations. True effectiveness comes from trial and error. Being patient and reflective about your setup is key.
Understanding Sound Proof Foam: Types and Applications
Soundproof foam comes in various types. Each type serves different sound reduction needs. Acoustic panels are widely used in studios. They absorb sound waves effectively, controlling echoes and reverb. Bass traps are another option. They specifically target low-frequency sounds in a room.
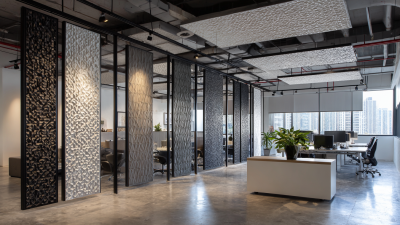
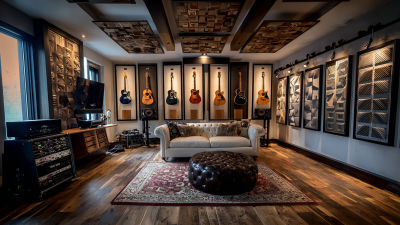
Applications of soundproof foam vary significantly. It is perfect for home theaters, music studios, and noisy environments. Many people also use it in offices to reduce distractions. The foam comes in different shapes and thicknesses. Thicker foam usually offers better sound absorption. However, improper installation can lead to suboptimal results. Some may overlook this crucial step, affecting the foam's performance.
Not everyone achieves perfect results with soundproof foam. A common mistake is underestimating the amount needed for large spaces. Some might focus only on one wall, missing the opportunity for balanced sound control. Others may choose attractive designs over effectiveness, which can diminish their noise reduction goals. Reflect on your choices carefully.
How to Use Sound Proof Foam for Maximum Noise Reduction?
| Type of Sound Proof Foam |
Application Area |
Noise Reduction Rating (NRR) |
Thickness |
Cost per Square Foot |
| Open Cell Foam |
Home Studios |
20-25 dB |
2 inches |
$1.50 |
| Closed Cell Foam |
Industrial Areas |
30-35 dB |
4 inches |
$2.50 |
| Acoustic Panels |
Recording Studios |
25-30 dB |
1 inch |
$3.00 |
| Pyramid Foam |
Home Theaters |
20-22 dB |
2 inches |
$2.00 |
| Corner Bass Traps |
Recording Studios |
35-40 dB |
4 inches |
$4.00 |
Choosing the Right Density and Thickness for Optimal Noise Reduction
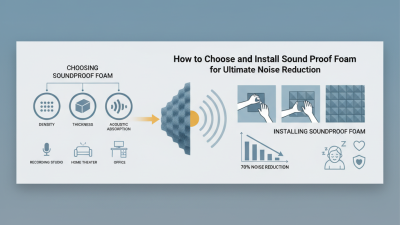
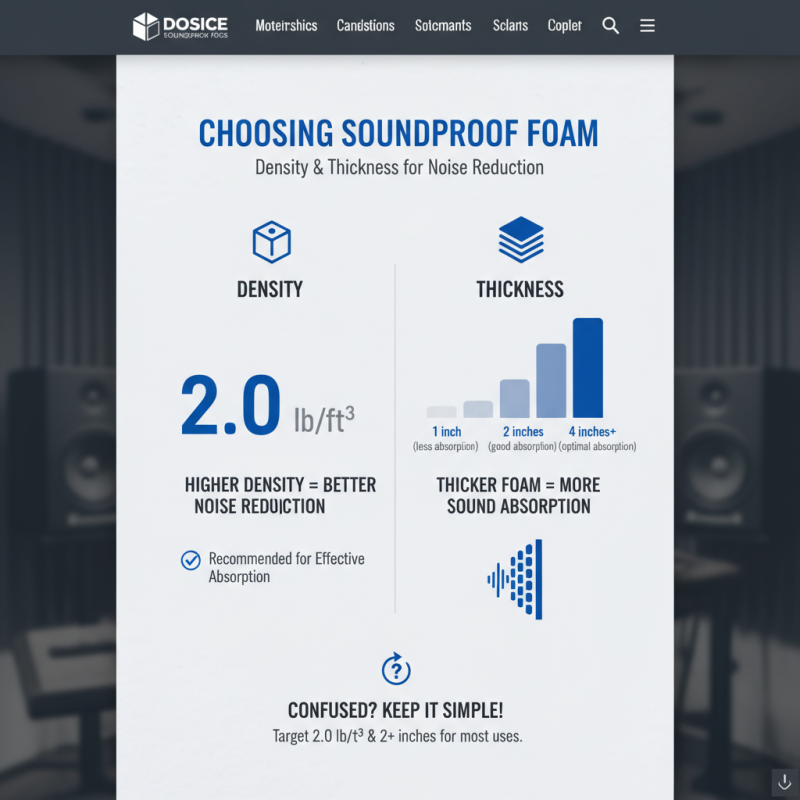
When choosing soundproof foam, density and thickness are crucial. The density of acoustic foam affects its ability to absorb sound. Generally, higher density foam is better at reducing noise. A density of 2.0 lb/ft³ is often recommended for effective sound absorption. However, it can be overwhelming for some people to select the right one.
Thickness also plays a vital role. Foam that is at least 2 inches thick absorbs lower frequencies better. Studies show that foam thicker than this can achieve a Noise Reduction Coefficient (NRC) rating of up to 1.0, meaning it effectively absorbs most sound frequencies. However, users should consider their particular needs. Not everyone requires high levels of noise reduction. Some may find thinner options sufficient for their environments.
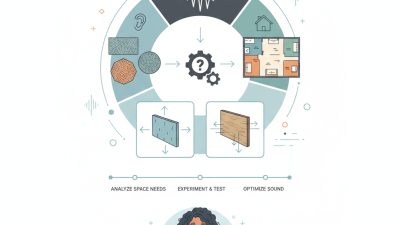
The installation can be tricky. Improper placement can lead to uneven sound absorption. Some users may even overlook critical areas like corners and walls. This often results in less than expected performance. Reflecting on these details is essential to maximize the benefits of soundproof foam. Proper selection and installation can make a noticeable difference in sound quality and comfort.
Proper Installation Techniques for Sound Proof Foam Panels
Proper installation of soundproof foam panels is crucial for effective noise reduction. Start by choosing the right location. Identify areas where sound leakage occurs, such as walls, ceilings, and corners. Clear the space to ensure a smooth installation. Clean the surface where the panels will be applied. Dust and dirt can prevent proper adhesion. Consider using a measuring tape for accurate placement. Planning can avoid future mistakes.
When installing, use a level to ensure the panels are straight. Uneven placement may lead to gaps. Cut panels to fit snugly in corners or around obstacles. This attention to detail helps create a seamless barrier against noise. Don’t rush this part. Take your time to fit each piece correctly. Remember that spaces left unfilled can still allow sound to pass through.
Adhesive or mounting hardware should be chosen based on the foam’s weight. Ensure it has enough strength to hold the panels in place. After installation, test the noise reduction effectiveness. You may find some areas still need improvement. If you notice lingering noise, consider adding more panels. Reflection and evaluation of the installation process can lead to better results in the future.
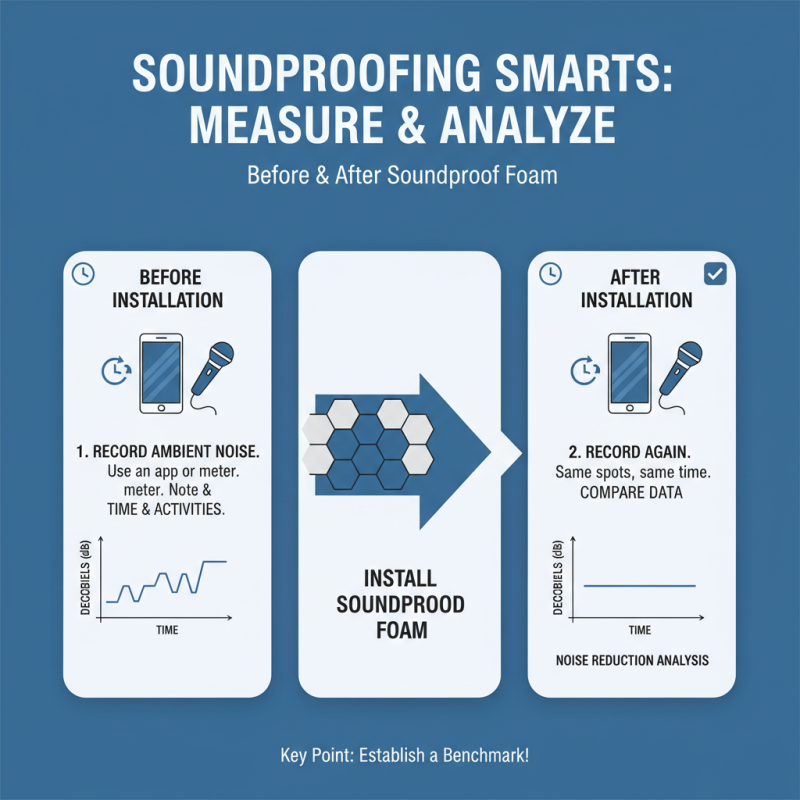
Noise Reduction Effectiveness of Sound Proof Foam
Maintenance Tips to Enhance Longevity and Effectiveness of Foam Solutions
Proper maintenance of soundproof foam is crucial for long-lasting effectiveness. Start by regularly inspecting the foam for wear or damage. Look for any signs of tearing or discoloration. If you notice these issues, it may be time for a replacement. The foam's performance diminishes over time, especially if exposed to sunlight or moisture.
Cleaning is also essential. Use a vacuum with a soft brush attachment to remove dust and debris. A damp cloth can help with stubborn stains. Avoid harsh chemicals, as they may degrade the material. Ensure the foam dries completely after cleaning. Compacted foam loses its sound-dampening capabilities.
Consider the placement of the foam. Over time, repositioning it may enhance its effectiveness in sound reduction. Experiment with different locations on walls and ceilings. Sometimes, moving foam just a few inches can make a significant difference. Reflect on your environment periodically. What worked yesterday might not be as effective today.