10 Best DIY Acoustic Panels for Better Sound Quality?
In the world of sound treatment, DIY acoustic panels have gained significant popularity. Renowned audio engineer John Smith once stated, "Effective sound control can transform any space." Many people seek solutions to improve sound quality in their homes, studios, or offices. DIY acoustic panels offer an affordable and customizable option for those on a budget.
Creating your own panels can be rewarding. However, it requires patience and careful consideration. The materials you choose make a big difference in effectiveness. Sometimes, even a simple project can lead to unexpected challenges. For example, aligning fabrics properly may test your skills.
Understanding sound waves is crucial. Each room is unique, and not all panels address specific acoustical issues. Experimentation is key. This journey can enhance your learning and enrich your results. Embrace the imperfections and learn from them as you work on your DIY acoustic panels.
Types of Materials for DIY Acoustic Panels
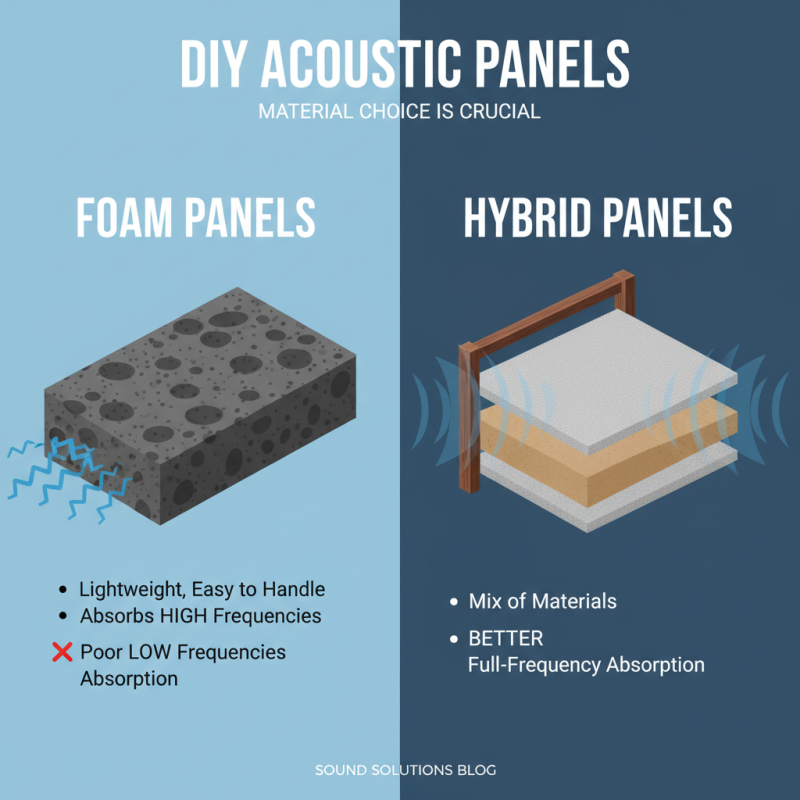
When creating DIY acoustic panels, the choice of materials is crucial. Foam panels offer one option. They are lightweight and easy to handle. These panels can absorb high-frequency sounds effectively. However, they might not perform well with lower frequencies. A mix of dense and soft materials can enhance performance.
Another popular material is fiberglass. It’s excellent for sound absorption. Fiberglass panels can reduce echoes in a room. They can be more challenging to cut and shape. Safety precautions are essential when handling fiberglass. Not everyone may feel comfortable using it, which is worth considering.
Wood can also be used to create acoustic panels. It adds a natural aesthetic to any space. However, wood panels often require more effort in construction. They need finishing touches to improve their sound-absorbing qualities. Sometimes, the desired effect might not be achieved on the first try. Trial and error can be part of the process.
Step-by-Step Guide to Building Your Own Acoustic Panels
Creating your own acoustic panels is a rewarding project. It can enhance the sound quality of any space. For beginners, start with simple materials. You'll need wood frames, fabric, and soundproofing insulation. Measure your space carefully before cutting. Accuracy is key to a good fit.
When wrapping the insulation in fabric, ensure it's tight. Loose fabric can diminish sound absorption. It’s often tricky to get clean edges. Don’t worry if it’s not perfect. Your panels will still work well. Hang them strategically on walls for optimal effect. Test your setup with different sound sources.
Remember, the process may not go as planned. You might have uneven edges or slight fabric wrinkles. Reflect on these imperfections. They add character to your panels. The journey to make them can also teach you more about sound control. Enjoy the experience, and don't stress over small mistakes. The result will be beneficial to your listening environment.
Tools and Supplies Needed for DIY Acoustic Panels
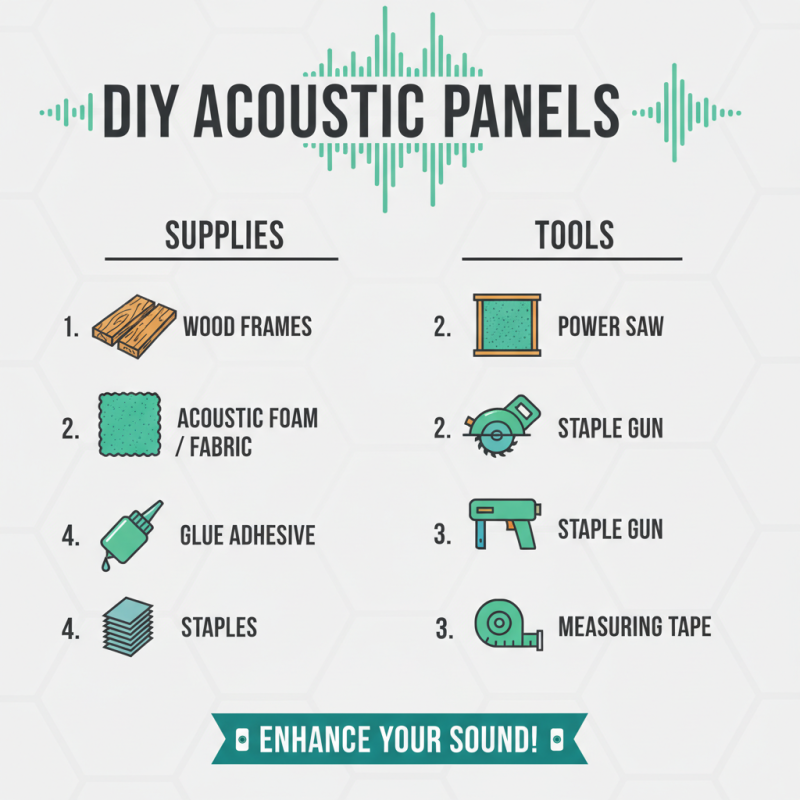
Creating DIY acoustic panels is a great way to enhance sound quality in any space. To start, you will need specific tools and supplies. Basic items include wood frames, fabric or acoustic foam, glue, and staples. A power saw can be helpful for cutting the wood, while a staple gun secures the fabric effectively. You may also want a measuring tape to ensure accurate dimensions.
Acoustic panels vary in effectiveness based on materials used. Industry studies indicate that properly made panels can reduce sound reflection by up to 50%. Some recommend using materials like rock wool for better absorption. However, finding affordable, effective solutions requires careful planning. Not all fabrics provide the same acoustic benefits. It’s crucial to research and test different options.
Creating these panels can be tricky. You might face challenges like uneven frames or fabric that doesn’t stretch properly. Mistakes can happen, leading to gaps or inadequate sound dampening. It's essential to reflect on each step for improvement. Analyze what works best and what doesn’t. This process can enhance both your skills and the overall sound quality of your environment.
Best Locations to Install Acoustic Panels for Optimal Sound Quality
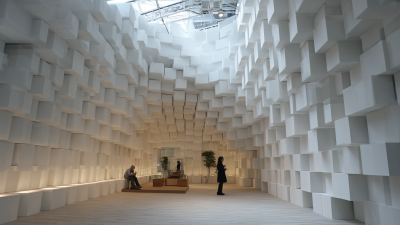
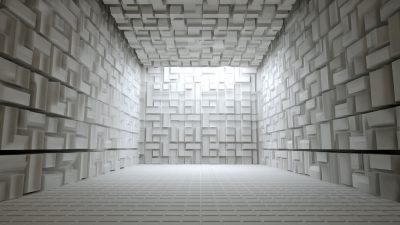
Installing acoustic panels in the right locations is crucial for enhancing sound quality in any space. Research indicates that sound reflections often occur in corners and flat surfaces. These areas can amplify unwanted noise, making it harder to achieve a clear sound. Placing acoustic panels in corners, known as bass traps, can significantly reduce low-frequency issues. According to a study by the Acoustical Society of America, poorly treated corners can add up to 15 dB of low-end noise in a room.
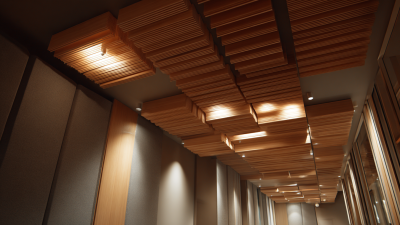
Wall-mounted panels should ideally be positioned at ear level. This ensures effective absorption of sound waves. Strategic placement can help mitigate echoes and reduce reverb. For open spaces, ceiling panels can further assist in controlling sound in larger areas. A report from the Institute of Noise Control Engineering highlights that sound absorption can improve by over 30% when panels are placed appropriately near speaker systems.
Despite these guidelines, many overlook the importance of trial and error. Every room is unique, with distinct challenges. It’s vital to adjust panel placement as needed. There may be some guesswork involved, and it’s okay to experiment. Sometimes, the best solution is not intuitive. While data offers a great starting point, personal experience will inform the best setup for optimal sound quality.
10 Best DIY Acoustic Panels for Better Sound Quality
This bar chart illustrates the sound absorption coefficients of various DIY acoustic panel materials. The data reflects how effective different materials are at reducing sound reflections, which is crucial for achieving better sound quality in a room.
Finishing Touches: Aesthetic Options for Your Acoustic Panels
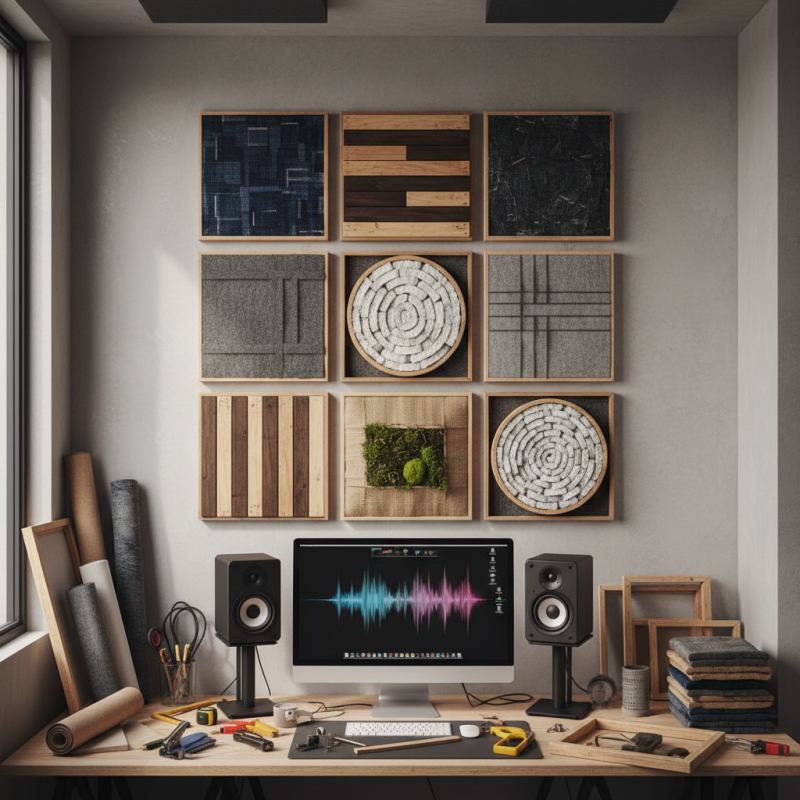
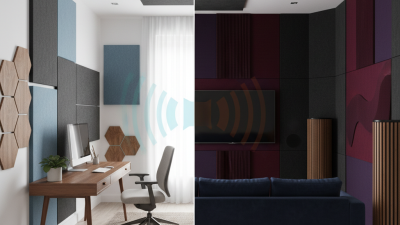
Acoustic panels can be functional and stylish. When making DIY panels, consider how they will fit into your space. Choose colors that complement your room. Textures also add depth and interest. For a cozy feel, try fabric-covered panels. A solid color can look modern and sleek.
Tips for design: Use patterned fabrics for a unique flair. Different shapes enhance visual appeal. You can even create a collage of panels in varying sizes. This adds a dynamic element to your decor.
Remember, aesthetics matter. What looks good might not always work for sound quality. Balance is key. Modular designs allow for easy changes later. Test different placements before finalizing. It’s okay to experiment. Trust your instincts and don’t be afraid to refine your design. Each choice impacts the overall vibe.
10 Best DIY Acoustic Panels for Better Sound Quality
| Panel Type |
Material |
Thickness |
Dimensions |
Aesthetic Options |
| Acoustic Foam |
Polyurethane |
2 inches |
24" x 24" |
Multiple colors |
| Fabric Wrapped Panels |
Fiberglass |
1 inch |
48" x 24" |
Custom fabric prints |
| Wooden Panels |
Plywood |
1.5 inches |
48" x 48" |
Natural wood finish |
| Bass Traps |
Rockwool |
4 inches |
20" x 20" |
White or black finish |
| Eco-Friendly Panels |
Recycled materials |
2 inches |
24" x 48" |
Natural textures |