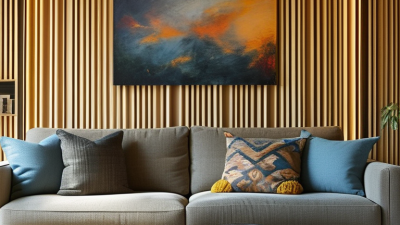
Choosing acoustic wall art is not simply an interior styling decision. It is a practical response to reverberation, speech privacy, and daily comfort. In offices, restaurants, studios, and hospitality spaces, hard floors and glass surfaces can turn ordinary conversation into persistent background noise. The World Health Organization’s Environmental Noise Guidelines for the European Region (2018) describe excessive noise as a significant environmental and health concern. Its guidance reminds designers that sound quality deserves serious attention, not decorative afterthoughts.
Acoustic wall art combines visual identity with sound-absorbing performance. The WELL Building Standard v2 also treats acoustics as a measurable part of healthier building design. Meanwhile, ASTM C423 and ISO 11654 provide recognized methods for evaluating sound absorption and acoustic performance. Look for technical information such as Noise Reduction Coefficient, weighted sound absorption, panel thickness, and tested installation conditions. A printed fabric panel may look impressive, yet its performance can change when mounted with an air gap or placed near a reflective wall.
The first choice is rarely the prettiest one. Start by observing the room. Notice where voices become unclear, where chairs scrape, and where sound lingers after a door closes. A common mistake is selecting panels by color alone. Another is expecting one small artwork to solve a large reverberation problem. The U.S. General Services Administration’s Sound Matters research emphasizes the importance of controlling sound in workplace environments. Therefore, this guide will explain how to choose acoustic wall art by considering room size, surface coverage, absorption ratings, placement, materials, maintenance, and visual context. Some decisions remain imperfect. Good design accepts that reality and measures what can be improved.
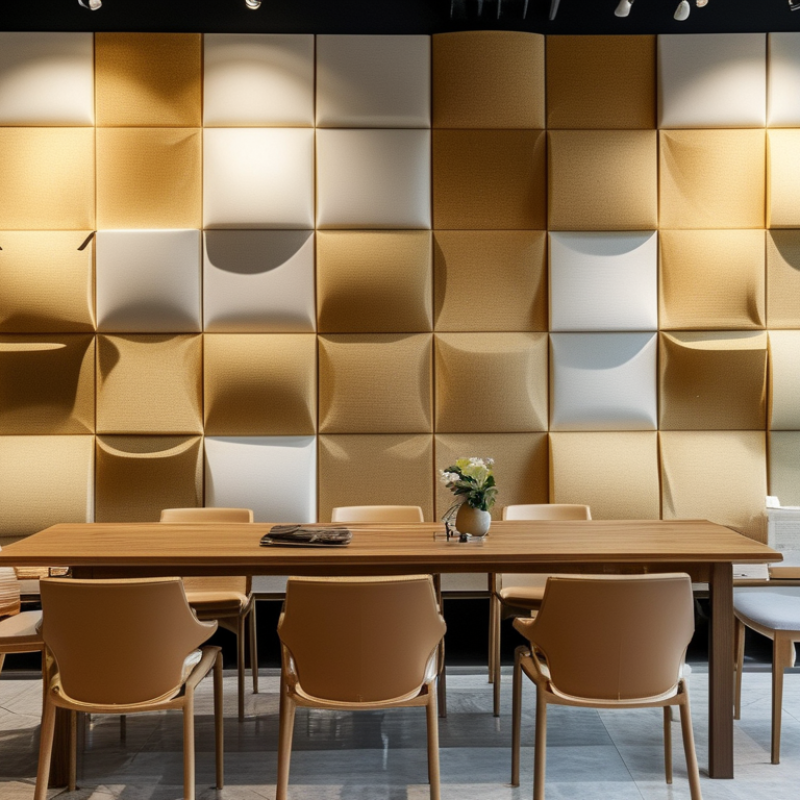
Before choosing acoustic wall art, define the room’s actual acoustic problem. A quiet private office needs different treatment from a lively café or classroom. Note the room size, ceiling height, hard surfaces, occupancy, and dominant noise sources. Glass, concrete, and bare flooring reflect speech, creating fluttering echoes and reduced clarity. Curtains and furniture may absorb some sound, but they rarely solve wall reflections alone.
Measure before decorating. ISO 3382-2 describes reverberation-time testing for ordinary rooms, while ANSI/ASA S12.60 sets a 0.6-second reverberation limit for many classrooms up to 10,000 cubic feet. That figure offers a useful reference, not a universal target.
A meeting room may need clearer speech, while a music or hospitality space may require controlled liveliness. Use an acoustic consultant or calibrated measurement app when possible. Phone readings can be helpful, but they are not perfect.
Look for panels with published absorption results, especially the Noise Reduction Coefficient or equivalent laboratory data. Place artwork near first-reflection zones, such as side walls beside a conference table, rather than covering one decorative corner. A beautiful panel can still be acoustically misplaced.
Leave enough coverage for the room’s surfaces and activity level. In practice, people often underestimate crowded-room noise. That is where the design may fail. Recheck the space after installation, with several people speaking at normal volume. Their feedback matters. Perhaps more than the brochure.
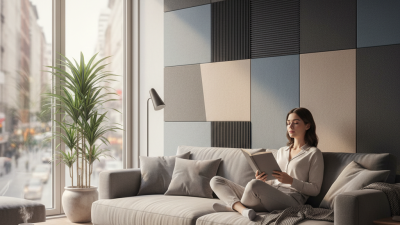
Acoustic wall art should be selected for sound absorption, not appearance alone. Start with the material. Recycled PET panels are lightweight, moisture-resistant, and easy to shape. Mineral wool usually offers stronger absorption, especially across mid and high frequencies. Perforated wood can add warmth, but its performance depends on the cavity behind it. Fabric facing also matters. A tightly woven cover may reduce airflow and weaken absorption.
Check the tested Noise Reduction Coefficient, or NRC. ASTM C423 and ISO 354 describe laboratory methods for measuring sound absorption. An NRC near 0.80 indicates substantial absorption, but room placement still changes results. A 2021 ASHRAE Handbook notes that ceilings, walls, furniture, and occupancy interact acoustically. More panels do not always fix low-frequency noise. That is easy to forget.
For offices, place panels near speech zones, meeting tables, and reflective walls. In a dining area, combine wall art with a soft ceiling surface. The World Health Organization’s 2018 environmental noise guidance identifies 30 dB(A) indoors at night as a protective target for sleep, showing why quiet design affects wellbeing. Ask for test conditions, thickness, fire classification, and cleaning instructions. Do not trust one impressive number. I have seen beautiful panels perform poorly when installed flat against a hard wall, without an air gap. Sometimes, the overlooked detail matters most.
Choosing acoustic wall art begins with your room’s visual language, not the panel’s technical promise. I inspect furniture lines, lighting, and daily noise before selecting artwork. A calm room may suit soft landscapes, muted geometry, or textured neutrals. A busy studio can handle stronger shapes and deeper contrast. The artwork should support the space, not compete with it. I once chose a beautiful dark panel for a small meeting room. It absorbed sound well but made the room feel narrower. That mistake taught me to test colors beside existing walls and furniture. Warm colors can make large rooms feel closer. Pale colors can keep compact rooms visually open. Check samples in morning and evening light.
Size affects both appearance and acoustic coverage. Measure the wall, then mark the artwork’s outline with removable tape. This reveals whether the piece feels balanced above a sofa, desk, or bed. Large rooms often need broader coverage or several coordinated panels. Small rooms may benefit from one well-placed piece near a strong reflection point. Leave breathing space around the artwork. Too much empty wall can make it seem undersized, but crowded placement feels accidental. For dependable results, review the material’s absorption information and installation guidance. Color matching is not always exact online. Screens can mislead. Request a physical sample when possible, and question your first choice if it looks wrong in real light.
Placement should follow the room’s actual sound behavior, not only its empty walls. Sit at the main listening position and notice where speech becomes unclear. Hard surfaces near speakers, desks, and meeting tables often create strong reflections. Place acoustic wall art at ear level or slightly above it. Avoid hiding panels behind furniture, curtains, or tall plants. I once placed a panel too high, and the room still sounded sharp. The mistake was obvious after a short conversation test.
Coverage matters more than decoration. Measure the wall area, then estimate how much surface needs treatment. A few small panels may soften echoes, but they rarely control a large, lively room. Prioritize opposing walls, ceilings near noisy zones, and spaces between speakers and listeners. Keep doors, windows, vents, and safety equipment accessible. Acoustic art improves reflection control, but it does not block outside noise. That distinction is easy to miss.
Installation requirements deserve equal attention. Check each panel’s weight, frame depth, hanging hardware, and wall construction before drilling. Masonry, drywall, and partition walls require different anchors. Leave enough clearance for cleaning and future maintenance. In rented spaces, removable systems may reduce damage, although they can support less weight. Use a level, measure twice, and test the layout with paper templates first. It feels slower. It prevents expensive repositioning. A professional installer can assess load limits and confirm that the mounting method suits the building.
How to Choose Acoustic Wall Art for Your Space?
Choosing acoustic wall art starts with measurable quality, not a beautiful print. Look for tested sound absorption data, sturdy frames, and dense, evenly finished cores. A high Noise Reduction Coefficient can help, but room size and placement matter more than one number. In a hard, echoing meeting room, a small artwork may look impressive yet change little. That was an easy mistake to make. Use several panels around ear level and near reflective walls when speech clarity matters.
Maintenance affects value long after installation. Dust-resistant fabric and replaceable covers reduce daily worry. Check whether the surface tolerates gentle vacuuming, spot cleaning, and regular handling. Some textured finishes trap crumbs and show fingerprints, especially beside desks or cafés. Frames should resist warping, while mounting hardware needs clear instructions and safe load guidance. I would also ask about color fading near strong windows. Manufacturers who provide care sheets and independent test reports inspire more confidence than vague performance claims.
Overall value balances acoustic improvement, lifespan, appearance, and upkeep. A cheaper panel may cost more if it sags, stains, or needs early replacement. A premium-looking surface is not automatically better. Compare warranty terms, replacement parts, delivery protection, and installation labor before deciding. Leave room for uncertainty. Acoustic measurements rarely predict every occupied room perfectly. Furniture, curtains, ceiling height, and conversations all alter the result. Request samples when possible, then listen from the seats where people actually work.
Compare common acoustic wall-art materials by sound absorption, maintenance convenience, and overall value. Scores use a 1–10 scale, with higher values indicating better performance.
PET felt is lightweight and easy to clean, fabric-wrapped fiberglass generally provides strong acoustic absorption, and perforated wood combines acoustic performance with a natural decorative finish. Actual results depend on thickness, installation, room size, and surface coverage.